
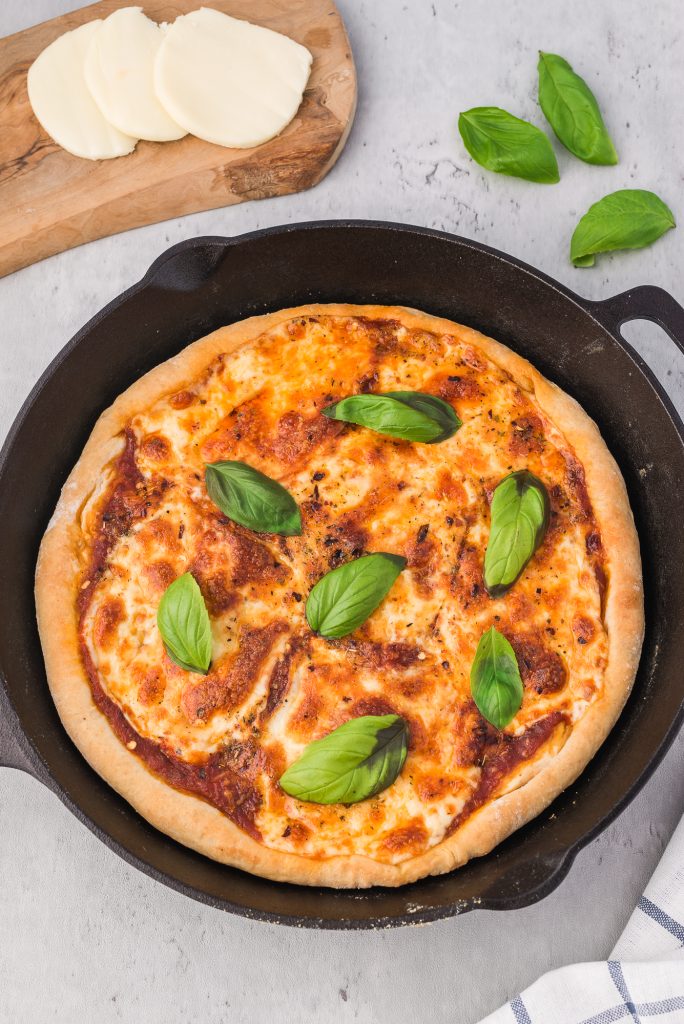
This Cast Iron Skillet Pizza is a delicious and unique twist on traditional pizza. The dough is cooked in a cast iron skillet, giving it a crispy crust with a chewy interior. The toppings are added directly to the skillet and then baked in the oven, creating a mouth-watering blend of flavors and textures. The result is a homemade pizza that is quick and easy to make, with a restaurant-quality taste that will leave you wanting more.
The real magic of this recipe is making a quick, easy pizza dough from scratch. The dough requires one hour or rising time, but we promise it's worth the wait. The cast iron pizza can be customized with any of your favorite pizza toppings.
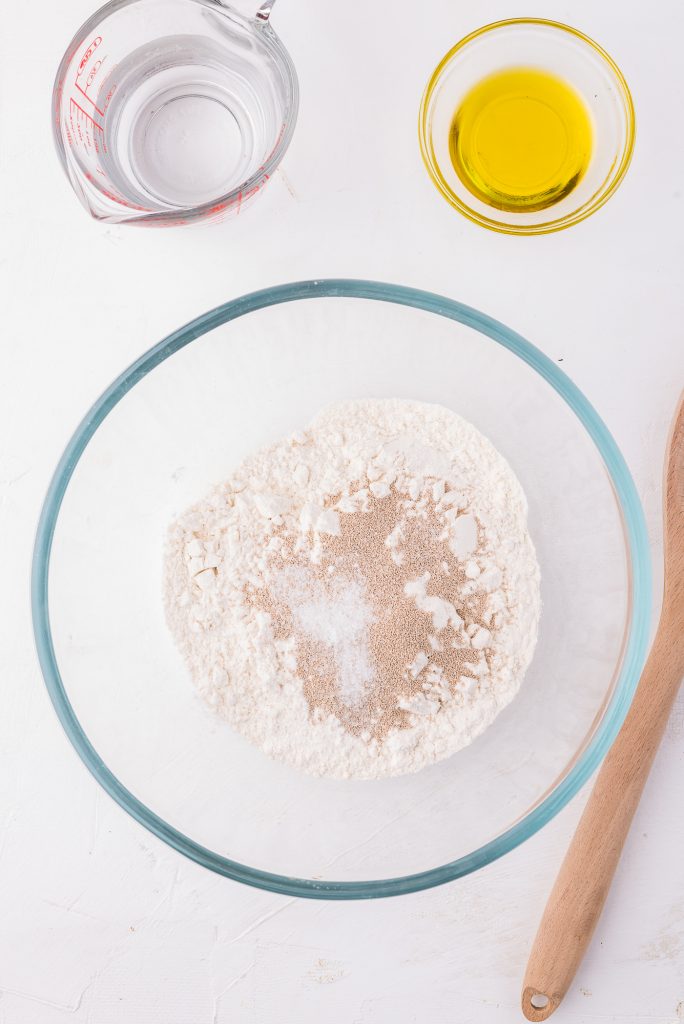
To make the pizza dough, you'll need to use dry active yeast. This can usually be found in the bakery aisle of the grocery store. The yeast it what activates the dough and gives it that crunch on the outside/chew on the inside texture.
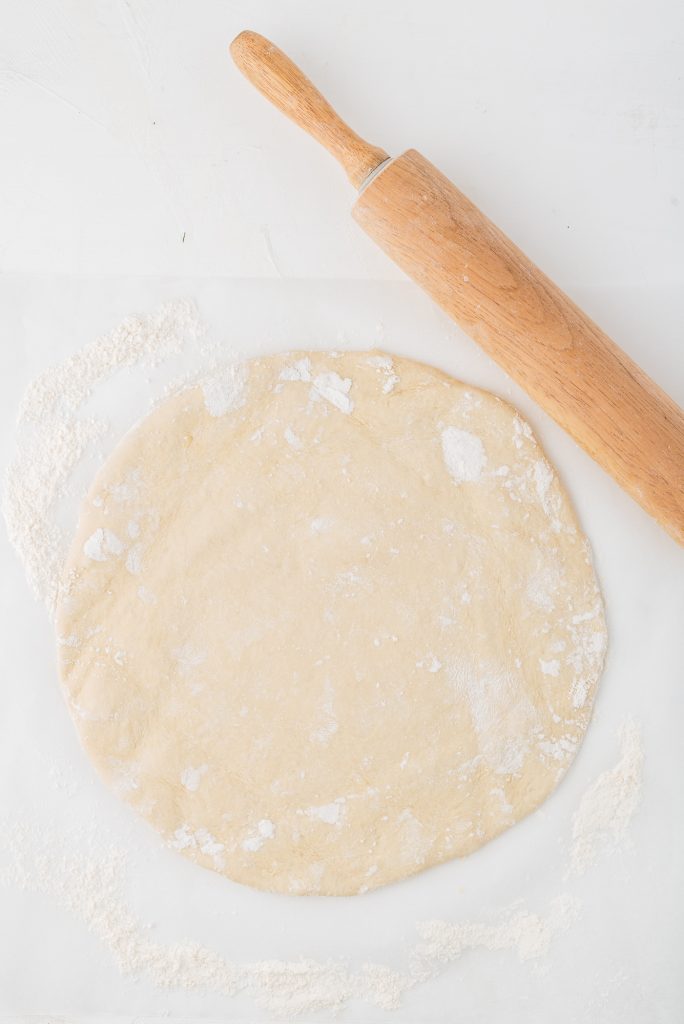
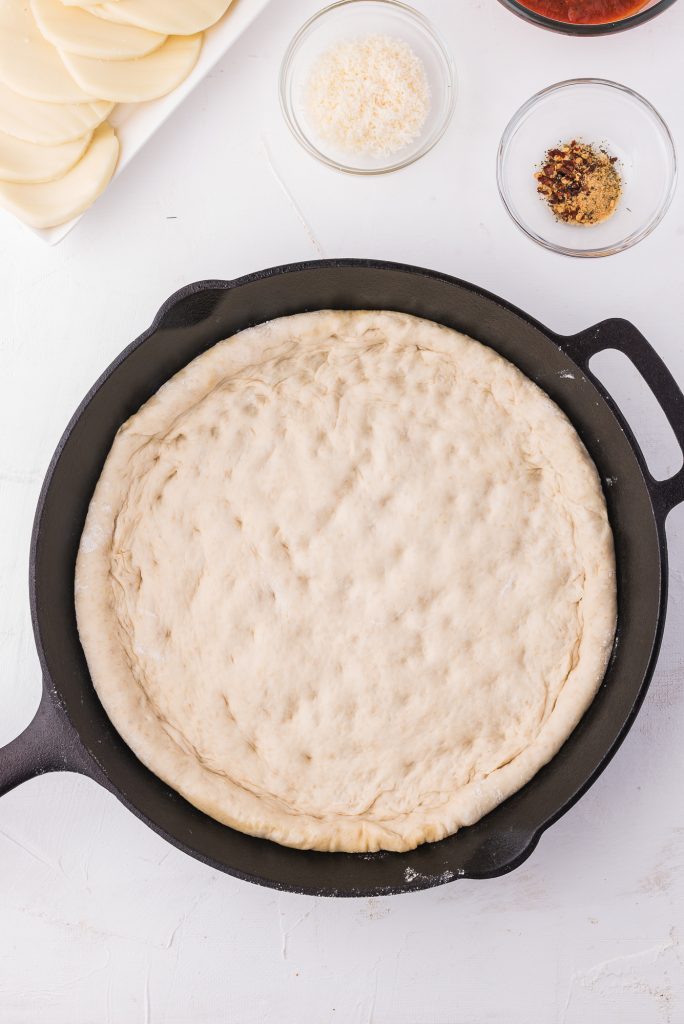
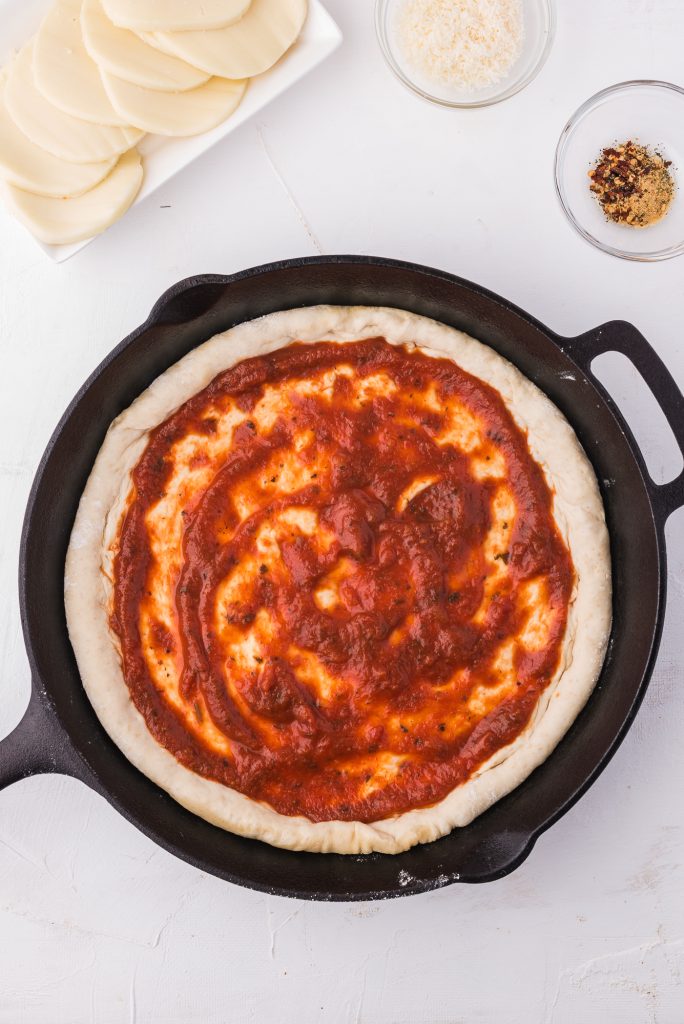
After you've let the dough rise for an hour, you'll want to roll it out and place it into the hot cast iron skilled that's been brush on the bottom and sides with olive oil. To get a nice crispy outer crust layer, make sure to heat the skillet in the oven so it’s quite hot. The olive oil will help make the outer part of the crust nice and crunchy.
Top the pizza with pizza sauce, cheese, and the spices. Feel free to try any of our recommended variations or to use any of your go-to favorites.


The pizza is ready once the crust is golden at the top and the cheese is baked and bubbling.
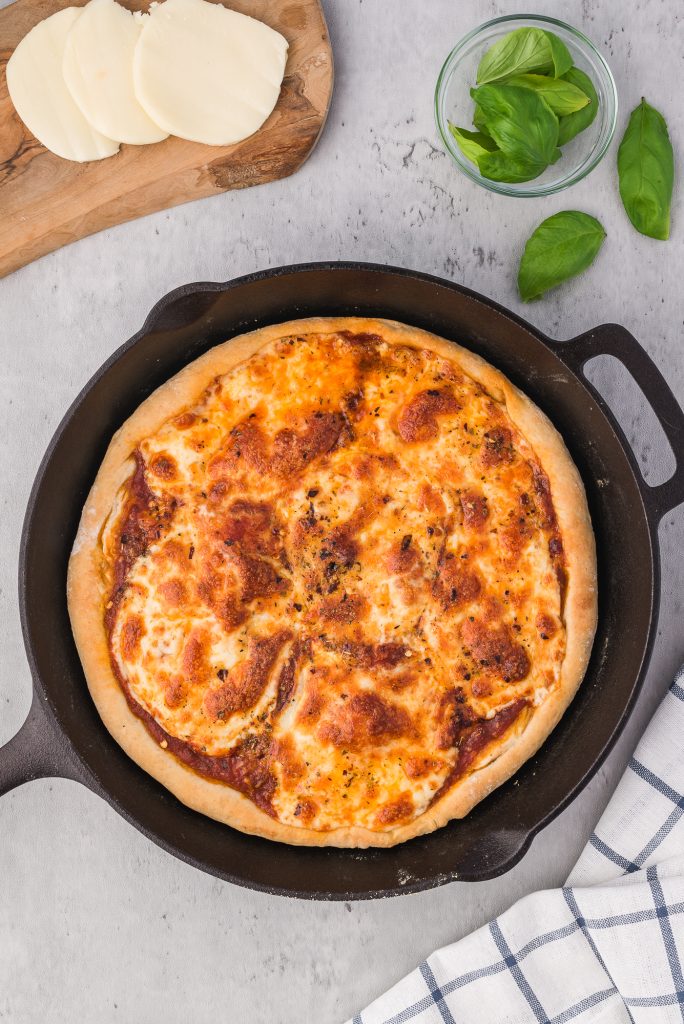
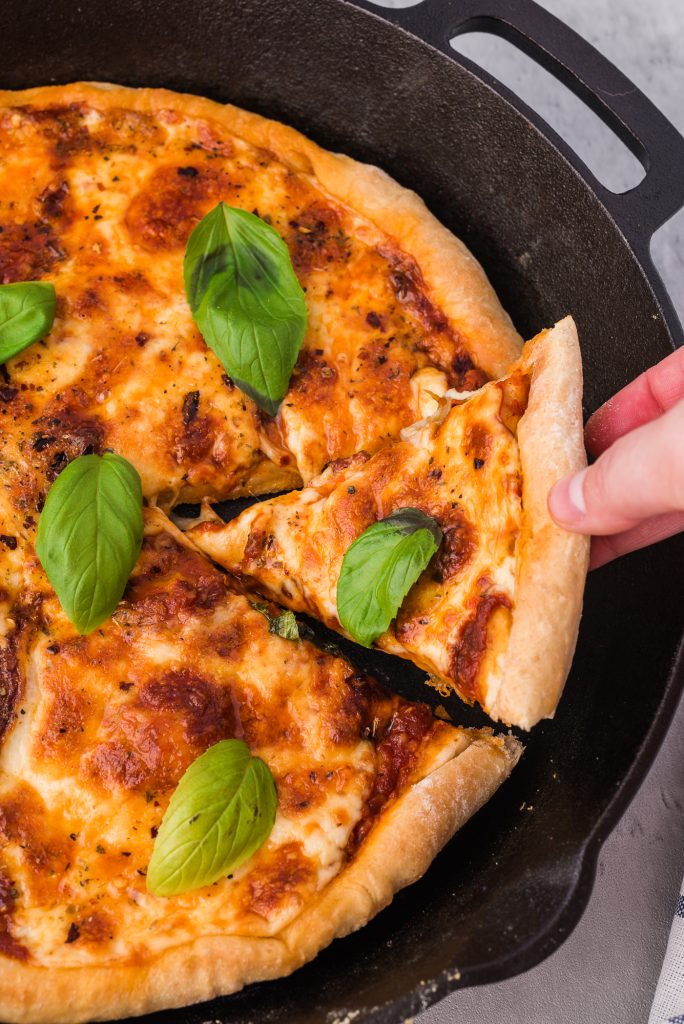
Let the pizza cool for a few minutes before slicing it and serving it.
Cast Iron Pizza FAQS:
What will I need to complete this recipe?
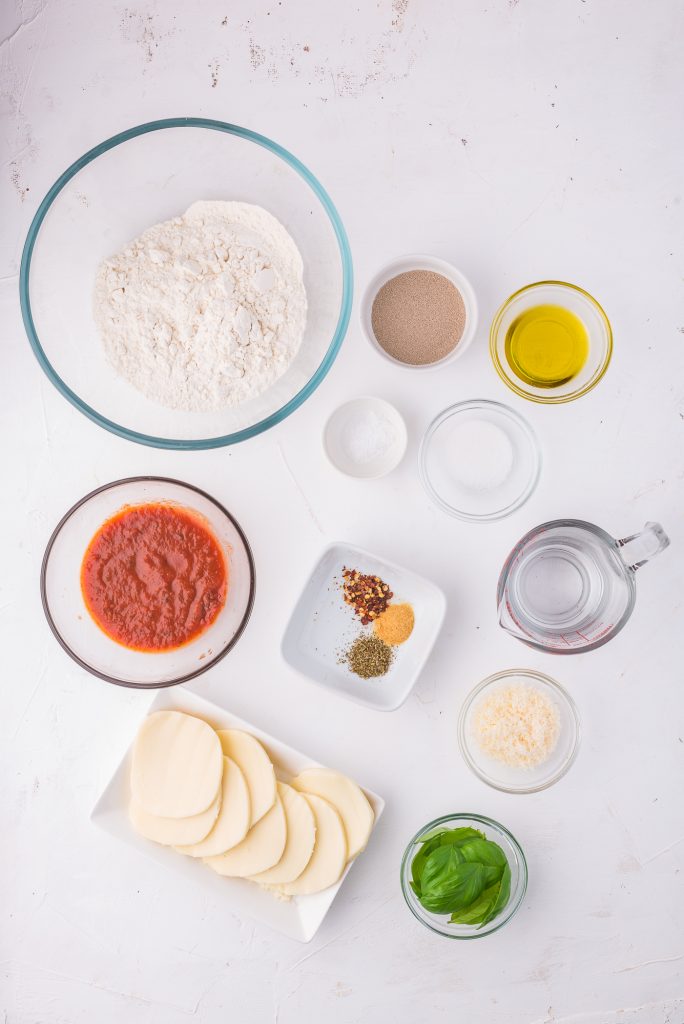
You will need the following ingredients: flour, sugar, active dry yeast, salt, olive oil, pizza sauce, mozzarella cheese, parmesan cheese, oregano, garlic powder, red pepper flakes, pepperoni (optional)
You will need the following supplies: 12 inch cast iron skillet, mixing bowls
Store any leftover pizza in the refrigerator in a covered container for up to 5 days. The pizza can be frozen for up to 2 weeks.
This delicious pizza is best served hot, right from the oven while the cheese is melted and bubbly.
Any toppings will be excellent with this pizza recipe: mushrooms, onions, sausage, pineapple, peppers etc.
Experimenting with a different cheese blend would also be a great way to get a different flavor combination, maybe adding some shredded pepper jack into the mix.
You can either shred the cheese or cut it into slices to get a margarita pizza look.
You can also skip the pizza sauce and use an olive oil and spice mixture.
Doubling the dough recipe and creating a deep dish pizza or stuffed crust pizza would be really delicious.
Notes:
- The longer you allow the pizza dough to rise the lighter and airier the crust will be.
- To speed the rising process of the dough, place the covered dough in a microwave or oven but, don’t turn either on. This creates a more humid environment that encourages growth.
- To get a nice crispy outer crust layer, make sure to heat the skillet in the oven so it’s quite hot. Oftentimes with homemade pizza the dough doesn’t cook evenly and the crust is overcooked but the bottom and inside is still undercooked.
- This dough recipe can easily be doubled or tripled and the remaining dough can be saved and placed in the refrigerator or freezer for future use. Just make sure to thaw in advance.

Cast Iron Pizza
Ingredients
Ingredients for the pizza dough:
- 1 ½ cups all-purpose flour or bread flour
- 1 tablespoon sugar
- 1 tablespoon active dry yeast
- 1 teaspoon salt
- ¼ cup olive oil
- 1 cup warm water
Ingredients for the pizza:
- Pizza dough from above
- ½ cup pizza sauce
- 10 ounces mozzarella cheese, shredded or cut into slices
- ¼ cup grated Parmesan cheese
- ¼ teaspoon dried oregano
- ¼ teaspoon garlic powder
- ¼ teaspoon red pepper flakes
- 2 tablespoon olive oil
- Basil leaves for garnish (optional)
For pepperoni pizza:
- 20-25 slices of pepperoni
Instructions
- In a large bowl, combine the flour, sugar, yeast, and salt.
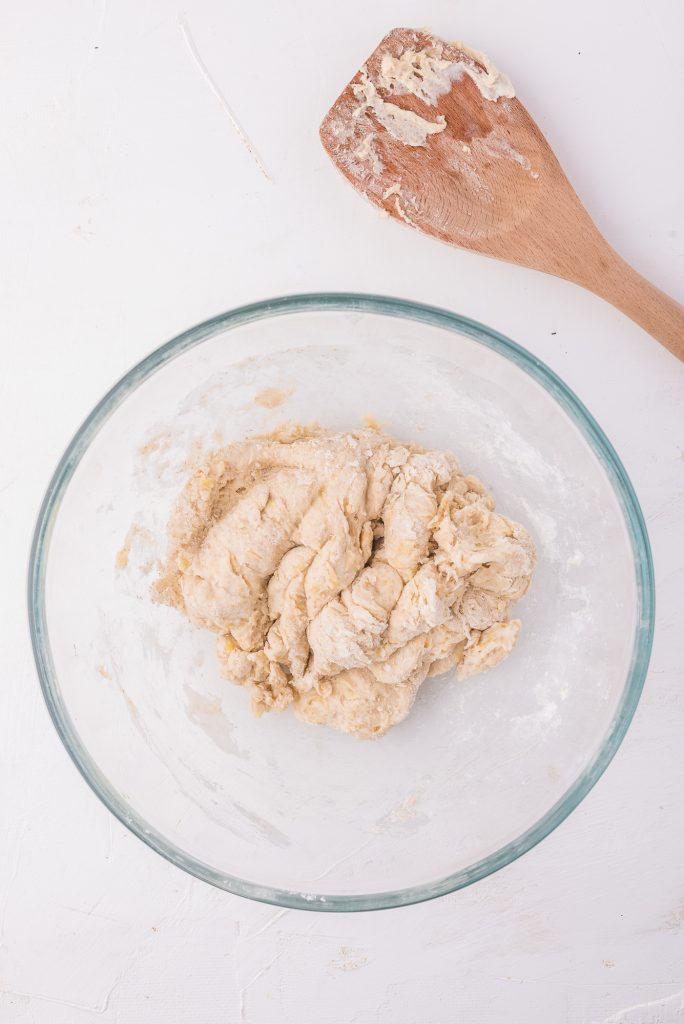
- Gradually add the warm (not hot) water and olive oil to the flour mixture, stirring with a wooden spoon until a shaggy dough forms.
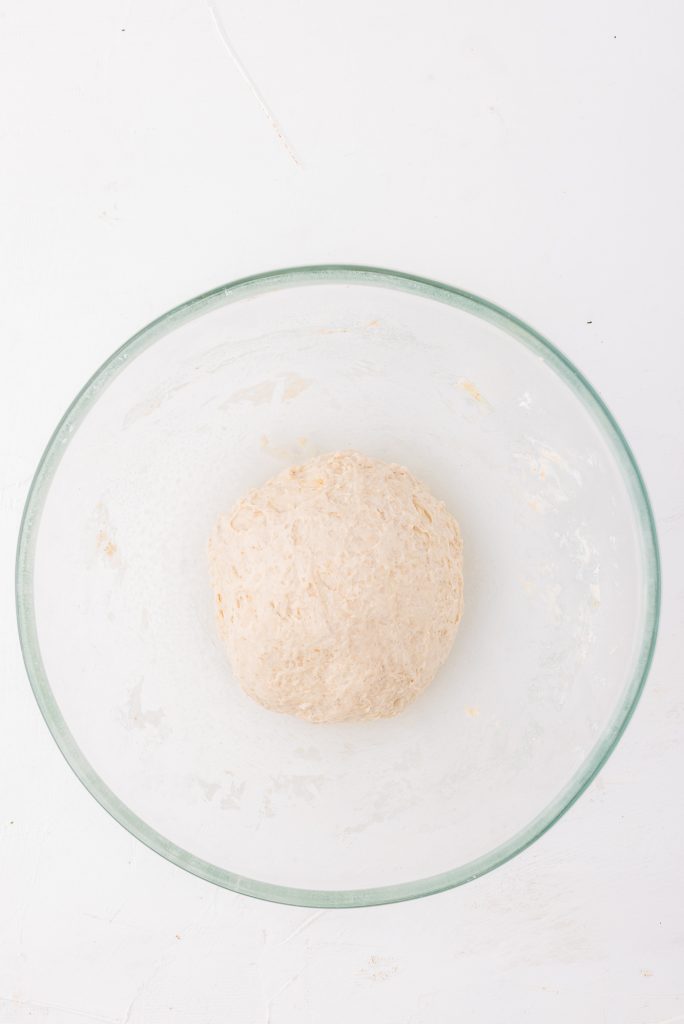
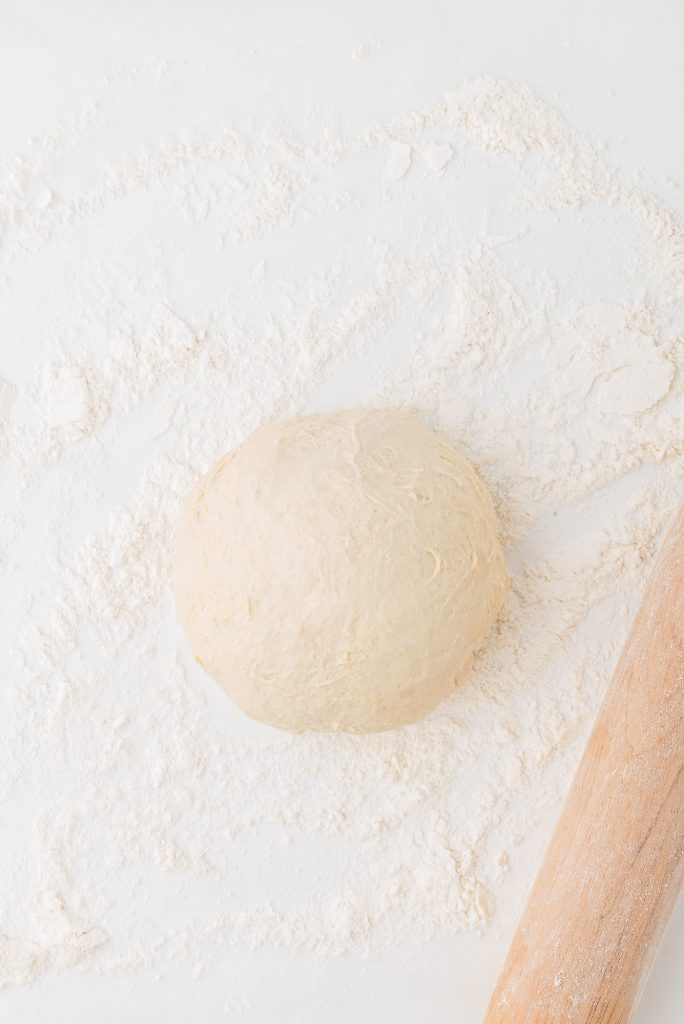
- Turn the dough out onto a lightly floured surface and knead for 4-6 minutes, until the dough is smooth.
- Place the dough ball in a large, lightly oiled bowl and cover with a kitchen towel. Let the dough rise in a warm, draft-free place for 1-2 hours, or until doubled in size.
- Preheat your oven to 425°F (218°C).
- Place a 12 inch cast iron skillet in the oven to preheat.
- On a lightly floured surface, roll out the pizza dough to fit the size of your skillet.
- Remove the skillet from the oven and carefully brush the bottom and sides with 1 tablespoon of olive oil.
- Carefully transfer the rolled-out dough to the skillet and press it against the bottom and sides of the skillet.
- Spread the pizza sauce evenly over the dough, leaving a small border around the edges.
- Sprinkle the shredded mozzarella cheese on top of the sauce, followed by the grated Parmesan cheese, dried oregano, garlic powder, and red pepper flakes.
- If making pepperoni pizza: Arrange the pepperoni slices on top of the cheese.
- Drizzle the remaining tablespoon of olive oil over the top of the pizza.
- Place the skillet in the oven and bake for 20-25 minutes, or until the crust is golden brown and the cheese is melted and bubbly.
- Remove the skillet from the oven and let it cool for a few minutes before slicing and serving.
Notes
Did you make this recipe?
If you enjoyed this recipe, please leave a comment, a review, or a rating.


Leave a Reply