
This simple and delicious Ninja Creami Banana Ice Cream only requires five ingredients. It is also infinitely customizable: You can make this recipe dairy free using your favorite plant-based milk. You can reduce the sugar by adding more honey. And you can add any mix-ins and toppings that your heart desires! Enjoy as a sweet treat or as dessert - there’s no wrong way to indulge in this delicious ice cream.

The bananas for this recipe should not have lots of brown spots. They should look ripe and ready to eat, not the kind you would use for baking a banana bread. To make this totally fairy free, you can use your favorite alternative or plant-based milk. You can find a heavy cream alternative as well in plant-based form. Oat milk will give you a nice creamy base. Coconut milk and soy milk are also good options.

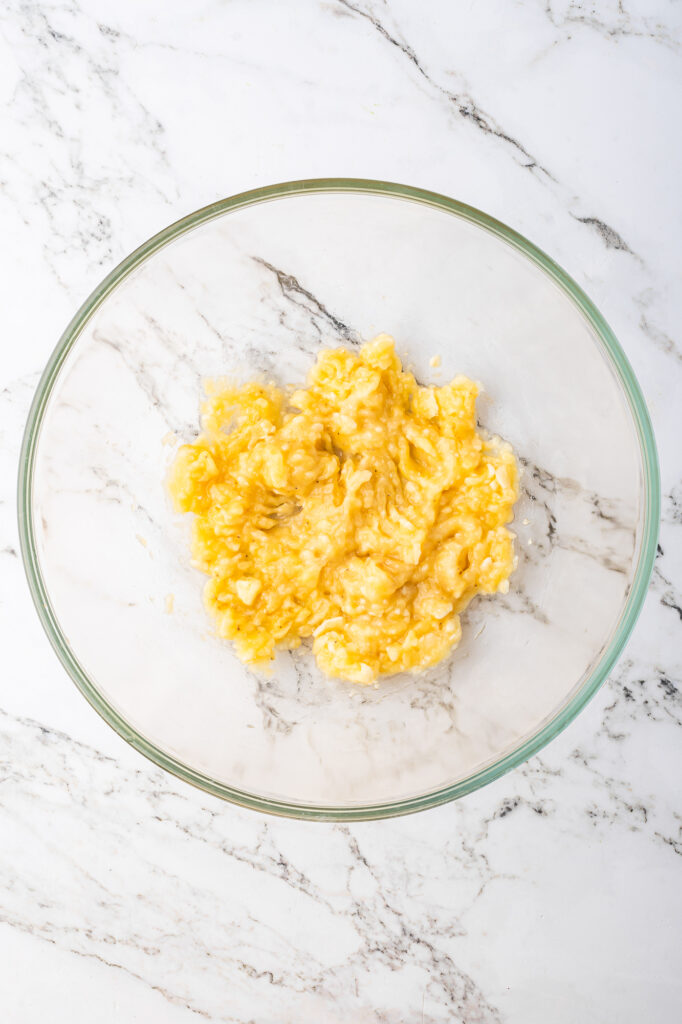
Place the 2 bananas in a mixing bowl and mash them up. Then add the heavy cream, milk, honey and sugar to the bananas and whisk until fully incorporated. If there’s a few banana chunks, that’s okay.

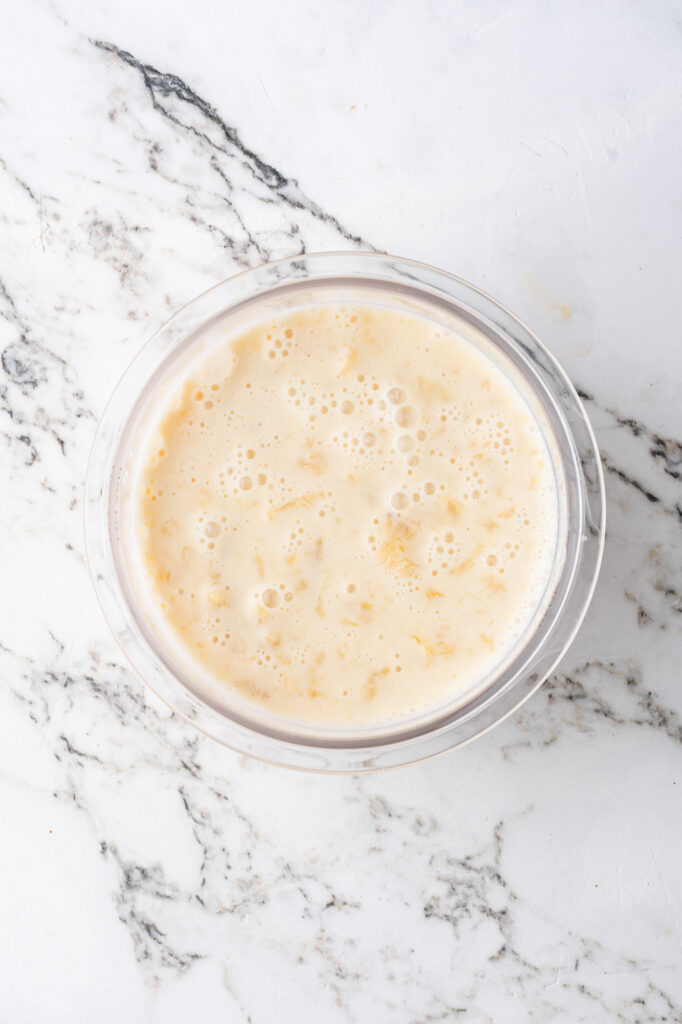
Transfer the mixture into the Ninja Creami pint container and freeze for 24 hours on a flat, even shelf.

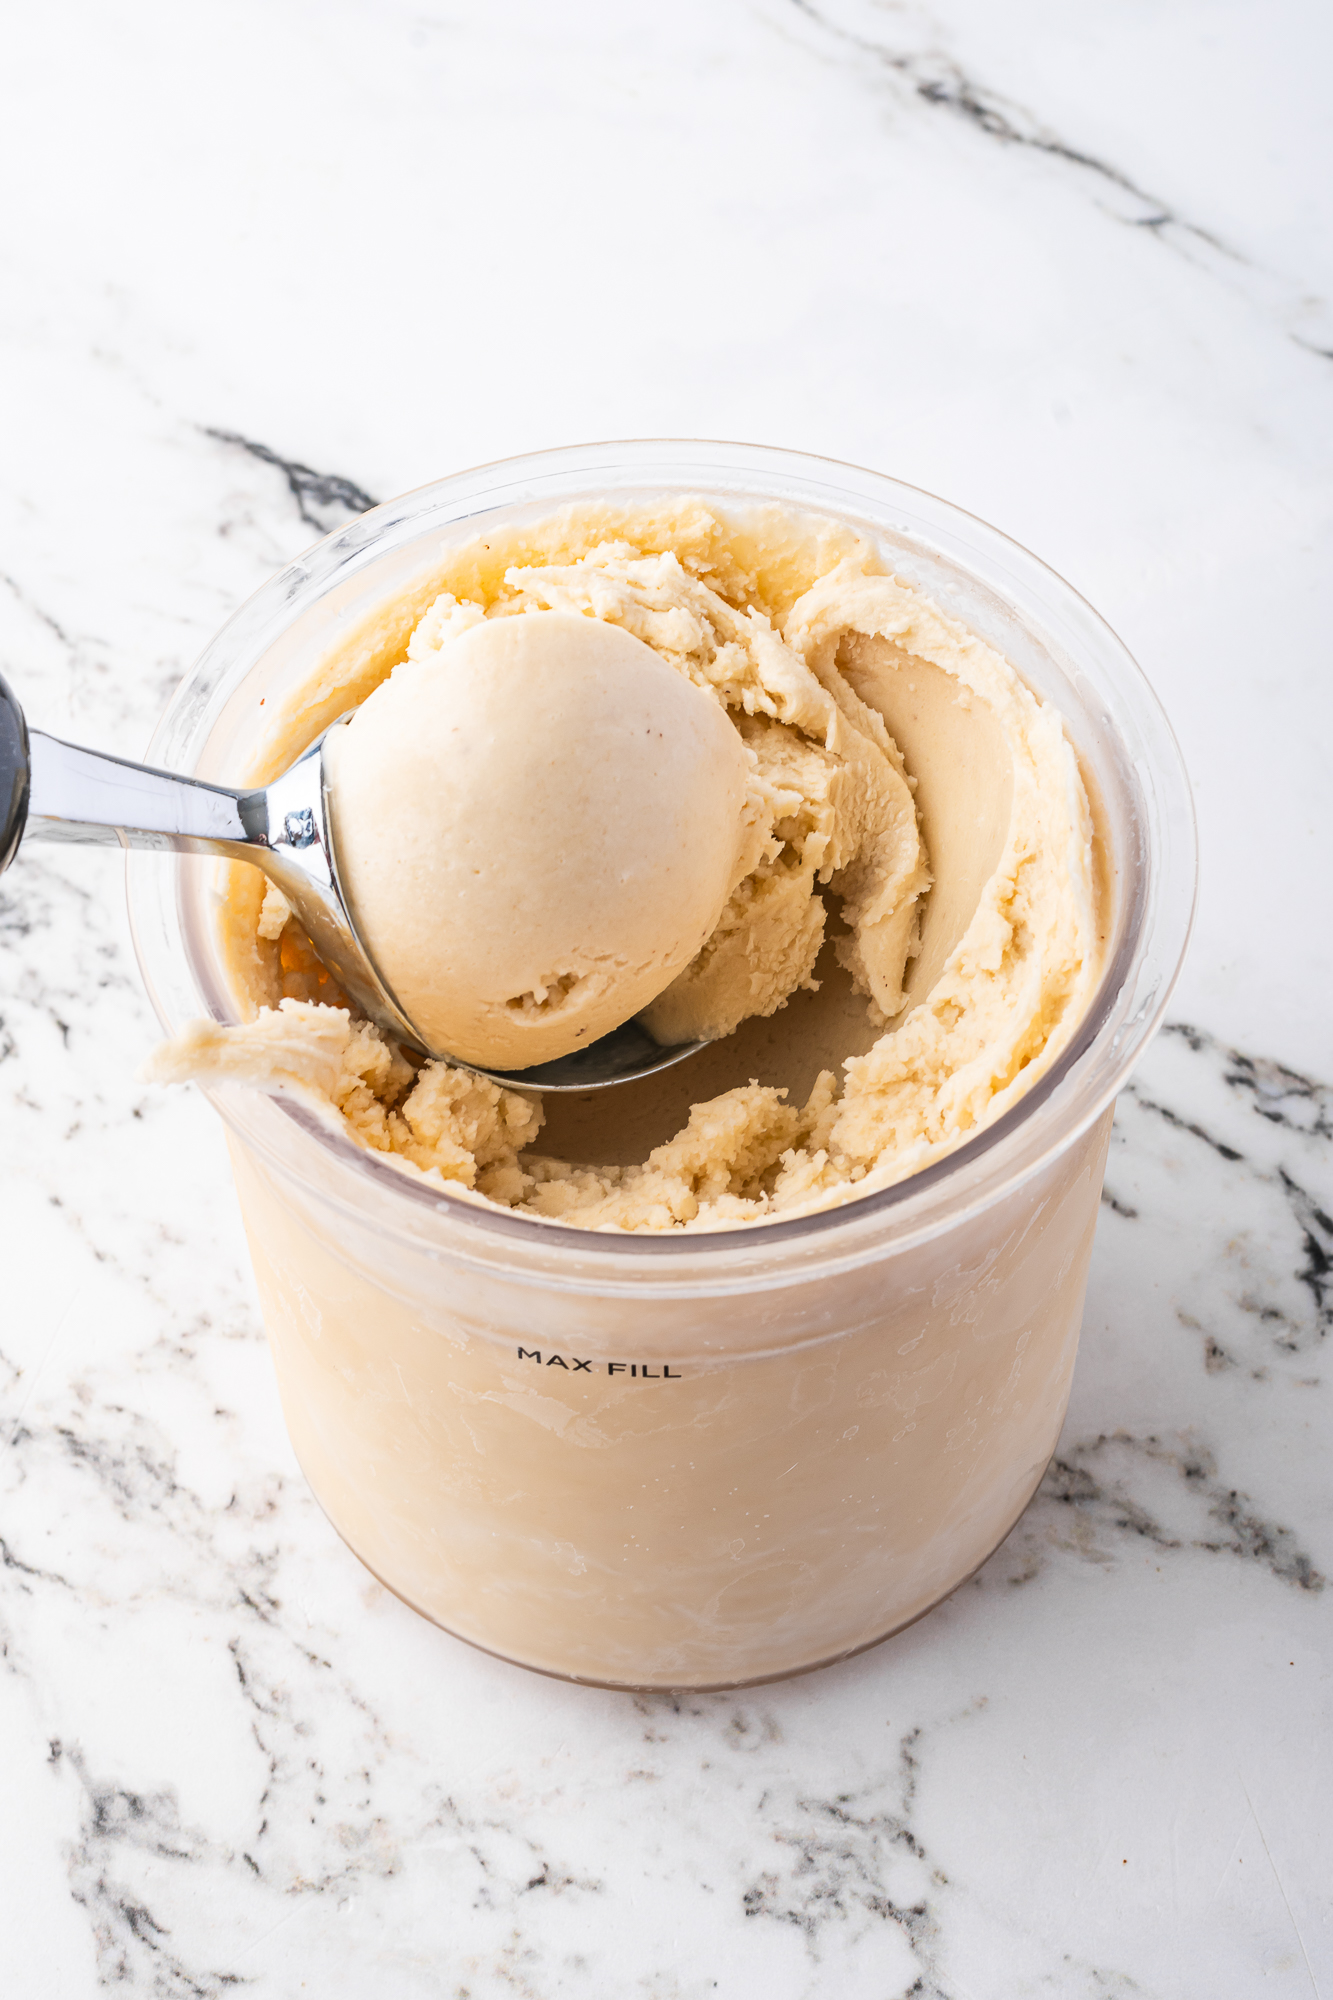
After 24 hours, place the pint container into the paddle canister and process on the “ice cream” setting.
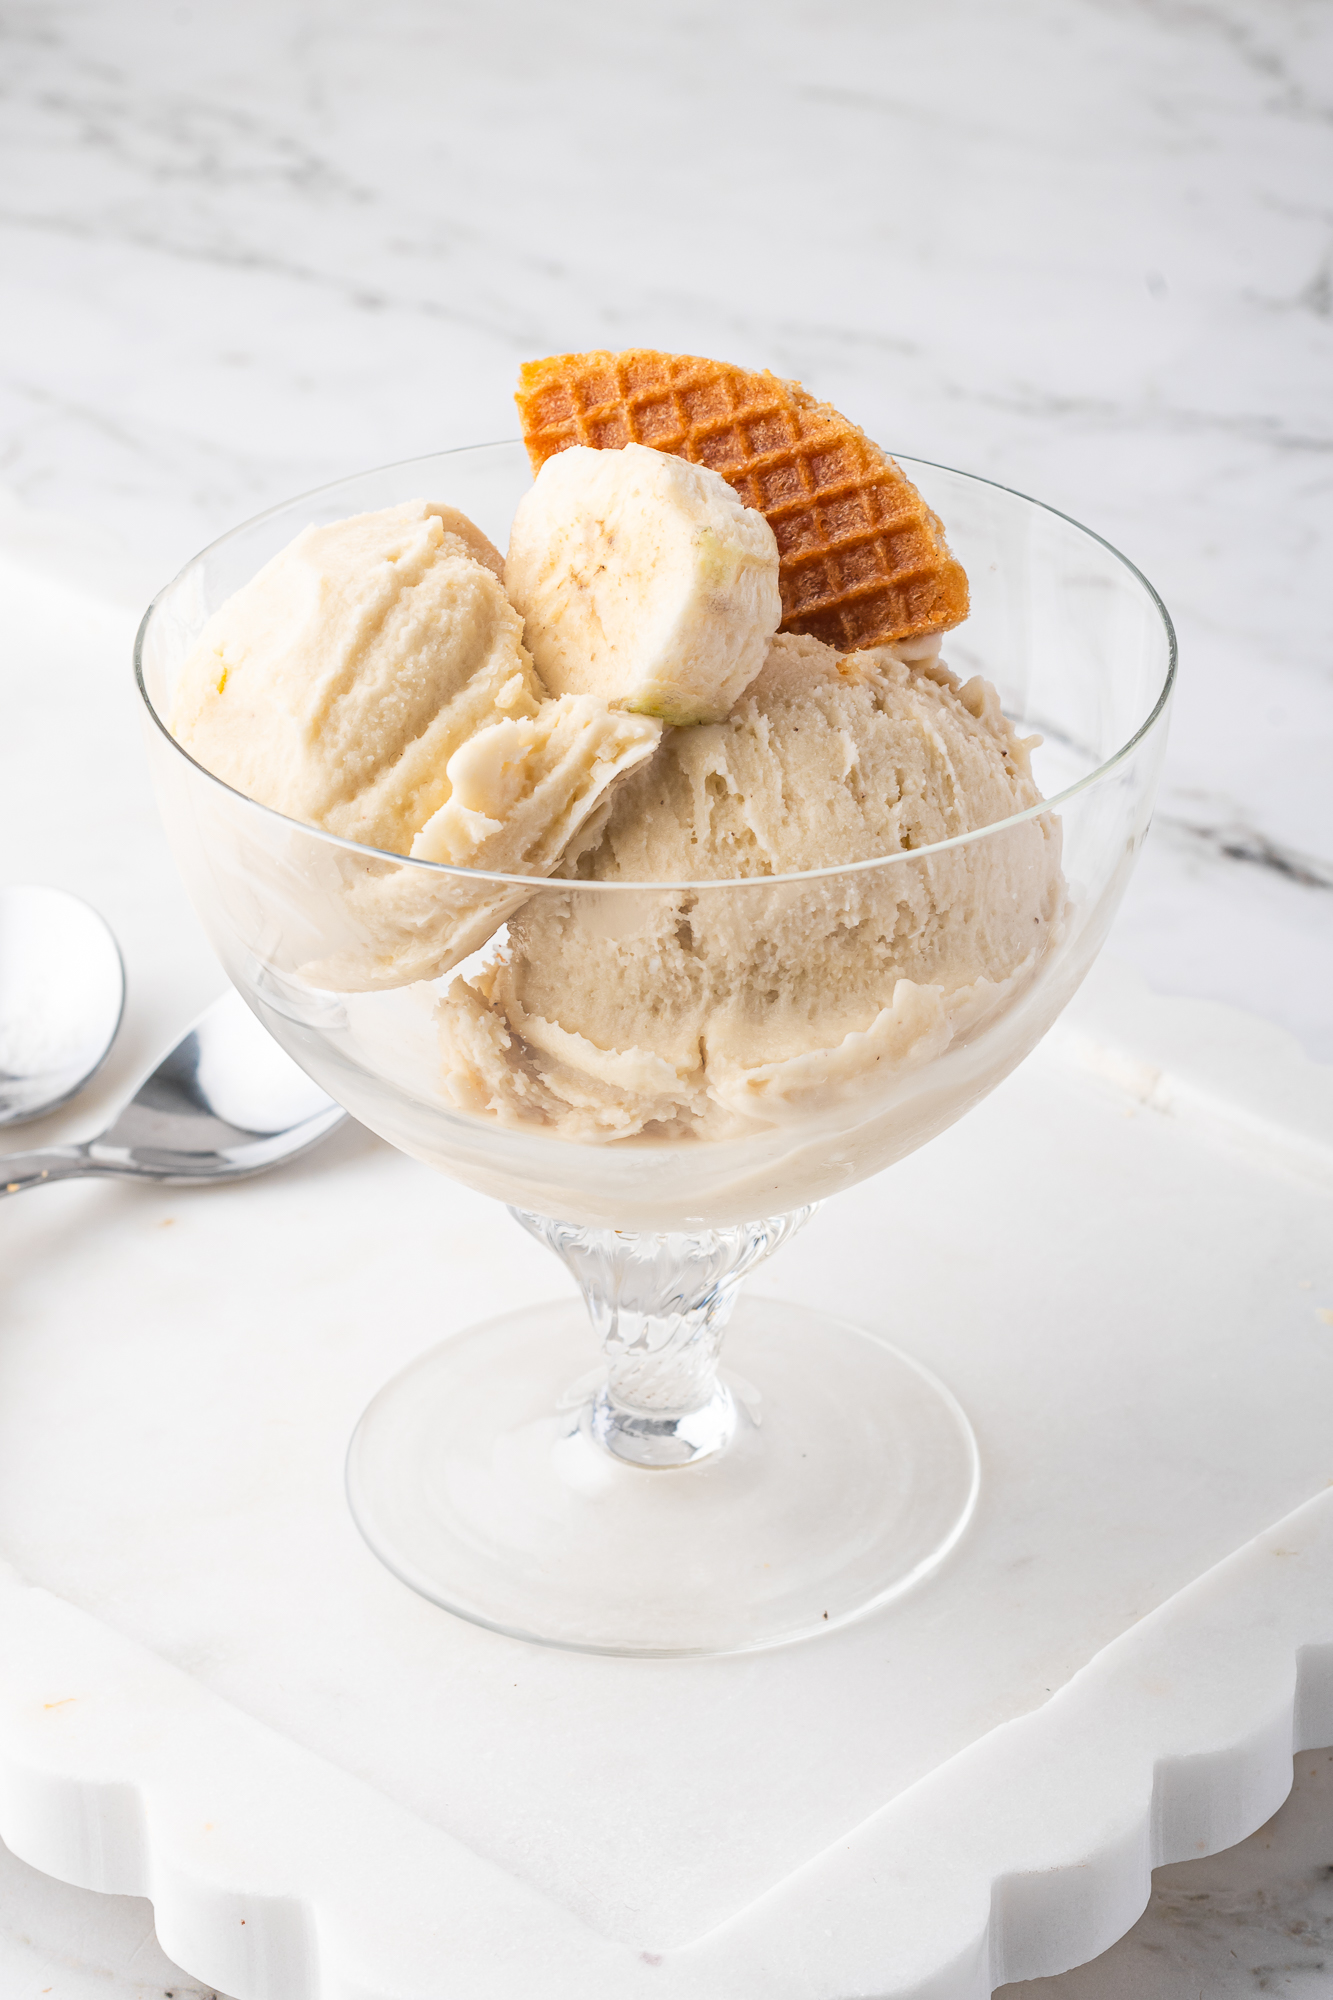
Serve the banana ice cream right away. You can garnish with some sliced bananas and waffle cone pieces. process 3
Ninja Creami Banana Ice Cream FAQS:
You will need the following ingredients:
bananas, heavy cream, milk (or plant-based alternative), honey, sugar
You will need the following supplies:
Ninja CREAMi machine, mixing bowl, whisk
Cover and place any leftovers back into the freezer for up to 15 days.
This Ninja Creami Banana Ice Cream should be eaten frozen or slightly softened.
Notes:
- The bananas should not have lots of brown spots. They should look ripe and ready to eat, not the kind you would use for baking a banana bread.
- Make sure the shelf is level so that the mixture freezes evenly to protect your machine.
- To make this totally fairy free, you can use your favorite alternative or plant-based milk. You can find a heavy cream alternative as well in plant-based form. Oat milk will give you a nice creamy base. Coconut milk and soy milk are also good options.
- You can add more honey in place of some of the sugar to make this lighter.
- You can add mix-ins or toppings like chocolate chips or peanut butter to make this even more delicious.

Ninja Creami Banana Ice Cream
Ingredients
- 2 bananas, not overly ripe
- ½ cup heavy cream
- ¾ cup milk (dairy or dairy free alternative)
- 2 tbsps honey
- ¼ cup sugar
Instructions
- Place the 2 bananas in a mixing bowl and mash them up.
- Add the heavy cream, milk, honey and sugar to the bananas and whisk until fully incorporated. If there’s a few banana chunks, that’s okay.
- Transfer the mixture into the Ninja Creami pint container and freeze for 24 hours on a flat, even shelf.
- After 24 hours, place the pint container into the paddle canister and process on the “ice cream” setting.
- Serve the banana ice cream right away. You can garnish with some sliced bananas and waffle cone pieces.
Notes
- The bananas should not have lots of brown spots. They should look ripe and ready to eat, not the kind you would use for baking a banana bread.
- Make sure the shelf is level so that the mixture freezes evenly to protect your machine.
- To make this totally fairy free, you can use your favorite alternative or plant-based milk. You can find a heavy cream alternative as well in plant-based form. Oat milk will give you a nice creamy base. Coconut milk and soy milk are also good options.
- You can add more honey in place of some of the sugar to make this lighter.
- You can add mix-ins or toppings like chocolate chips or peanut butter to make this even more delicious.
Did you make this recipe?
If you enjoyed this recipe, please leave a comment, a review, or a rating.


Leave a Reply